
GitHub Copilot
Copilot has two separate paths, because the CLI and the VS Code extension are configured in completely different ways.
Copilot CLI — automatic
Tools → GitHub Copilot → Connect. Fully automatic, like the other adapters. Restart your terminal afterwards so the new environment is picked up.
Copilot in VS Code — guided, manual
VS Code's custom-endpoint feature can only be configured from inside VS Code, so the app gives you a token and a short checklist instead of doing it for you.
Press Set up VS Code. The app copies a token to your clipboard, then:
- Command Palette → Chat: Manage Language Models → Add → Custom Endpoint.
- Base URL: the Gateway URL shown in the app.
- Paste the API key from your clipboard (Copy token again if you lost it).
- Model:
gpt-4o· API type:chat-completions.
Caveats
- Chat only. Inline completions keep using GitHub's own path.
- Requests are billed to your organization's OpenAI key, not to your Copilot subscription.
- Requests still transit GitHub's servers.
- If VS Code does not offer a "Custom Endpoint" option, your organization has not enabled BYOK for Copilot. That is a setting on GitHub's side, not something Sentilai can change.
The VS Code companion extension
Separately, there is a small Sentilai extension for VS Code that shows, in the status bar,
how many of your AI tools are governed (Sentilai: 2/3) and which base URL each is using.
It is strictly read-only — it never signs you in and never writes a device token. Its one
command, Govern my AI tools, just launches the Endpoint app.
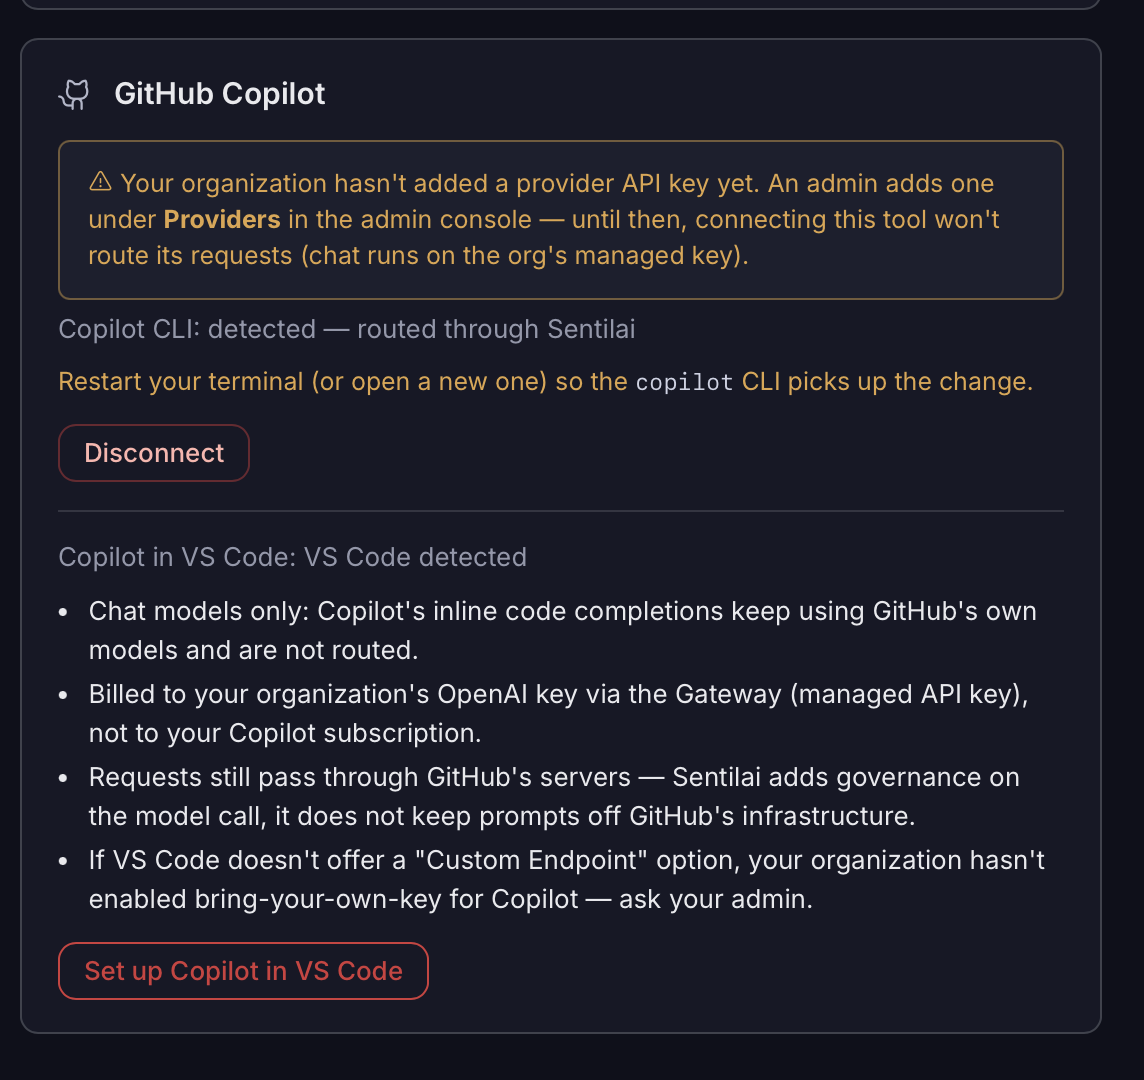 GitHub Copilot is two things: the CLI, governed like any other tool, and Copilot in VS Code, which is set up separately and stays chat-only.
No comments to display
No comments to display